Installing Nuclias Connect on Windows
Before you begin this procedure, download the latest Nuclias Connect package.
Contents
Windows Installation
- Locate the Nuclias Connect package and run the file to start the installation process.
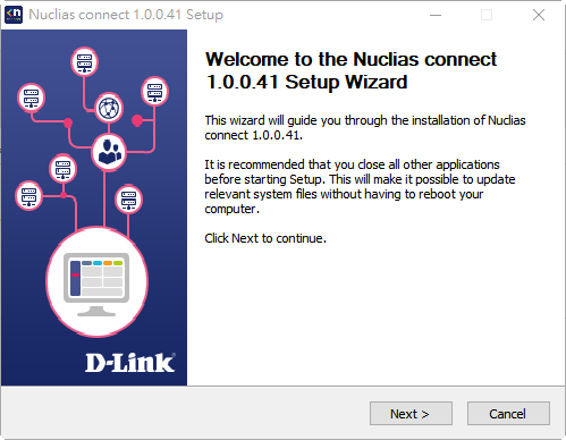
- A Welcome window will appear. Click the Next > button to continue to the next step. Click the Cancel button to stop and exit the installation.
 Install Nuclias Connect (Setup Wizard)
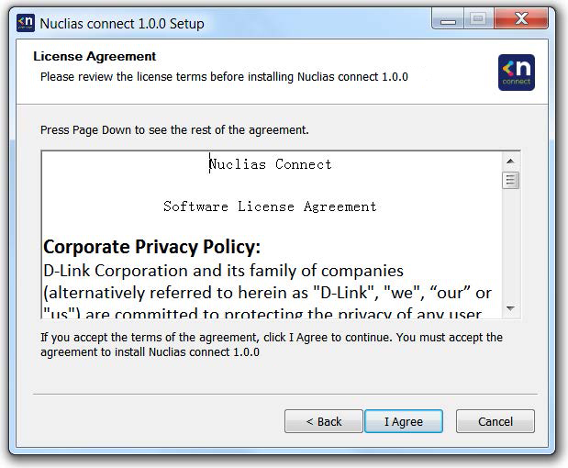
 - The License Agreement window will display. Before installing, review the license terms. Once accepted, click the I Agree button to continue.
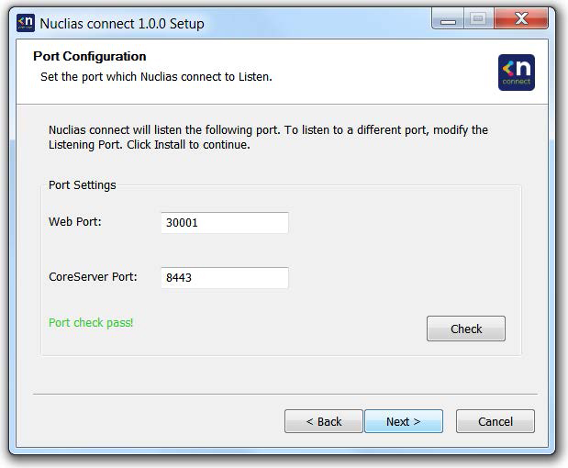
Install Nuclias Connect (License Agreement) - In this window, enter the Web Port (default: 30001) and CoreServer Port (default: 8443) settings as required. These ports are used for multiple access point connections and must be specified in this window. Use the
default settings if the ports are accessible.
Click the < Back button to return to the previous step. Click the Next > button to continue to the next step. Click the Cancel button to stop and exit the installation.
Install Nuclias Connect (Port Configuration) - The Database Service Environment Check window will be seen. At this stage, the setup performs a systems check for the required MongoDB database services. A report is visible in the MongoDB status summary field displaying the installed,
if any, MongoDB version and status.
Nuclias Connect requires a database service to function properly. Support for existing MongoDB on the server or remotely is available by selecting the related radio button (see the Validating MongoDB Service Environment image below). By selecting a new install instance, MongoDB is registered as a service on the server.
Click the < Back button to return to the previous step. Click the Next > button to continue to the next step. Click the Cancel button to stop and exit the installation.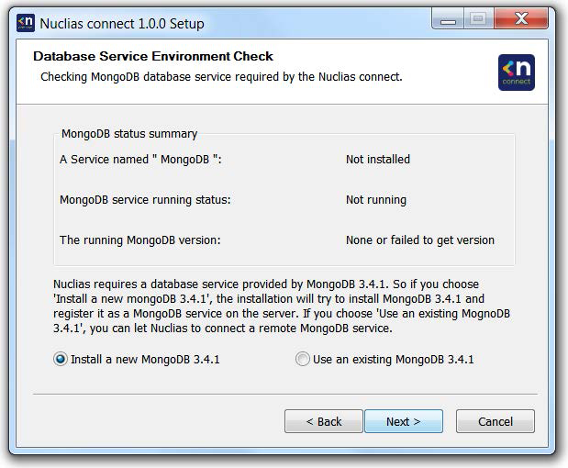 Validating MongoDB Service Environment
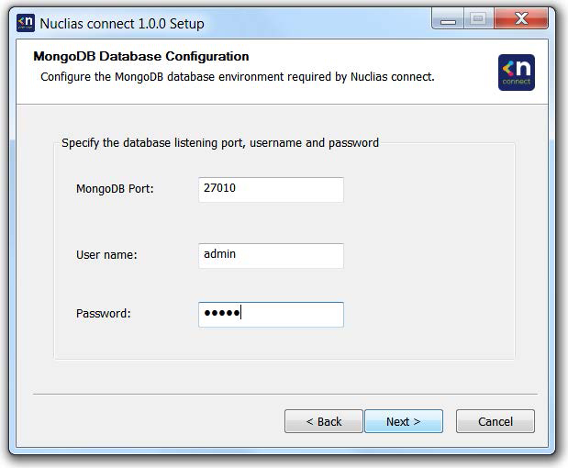
 - The MongoDB Database Configuration window appears next. In this window, specify the MongoDB listening port (default: 27010), the username and password for the Postgres database associated
with this application.
Click the < Back button to return to the previous step. Click the Next > button to continue to the next step. Click the Cancel button to stop and exit the installation.
Install MongoDB Database Configuration - The firewall on the computer may block the Apache HTTP Server application. If the server uses Windows Firewall, a security alert message will appear. Click the Allow Access button to allow this application to communicate with the network.
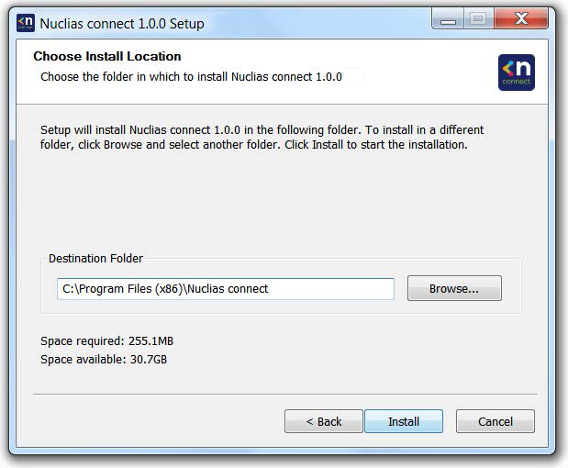
- The Choose Destination Location window appears next. To install Nuclias Connect in a different folder or on a different drive, click the Browse… button and specify a target folder.
Click the < Back button to return to the previous step. Click the Next > button to continue to the next step. Click the Cancel button to stop and exit the installation.
 Install Location
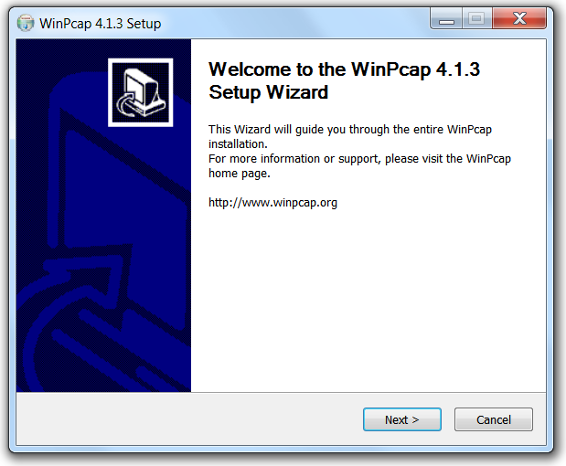
 - The WinPcap Setup Wizard window appears next. The WinPcap installation allows link-layer network access in Windows environments, allowing applications to capture and transmit network packets bypassing the protocol stack. This includes
kernel-level packet filtering, a network statistics engine and support for remote packet capture.
Click the Next > button to initiate the Setup Wizard. Click the Cancel button to stop and exit the installation.
 Install WinPcap
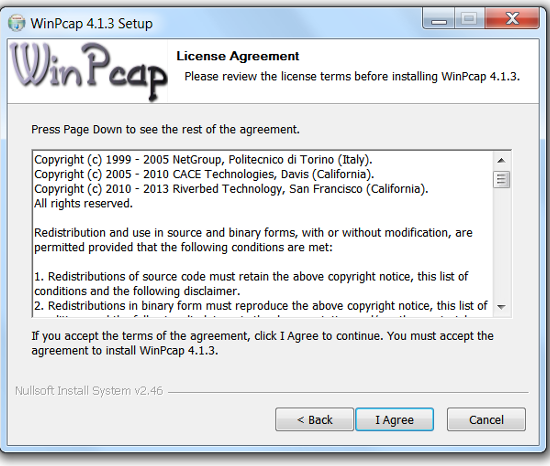
 - The License Agreement window appears next. Review the license terms before installing WinPcap. Once the agreement has been accepted, click I Agree to continue.
Click the < Back button to return to the previous step. Click the Cancel button to stop and exit the installation.
 WinPcap License Agreement
 - The Completing … Setup Wizard window will be displayed. Click the Finish button to complete and exit the installation wizard.
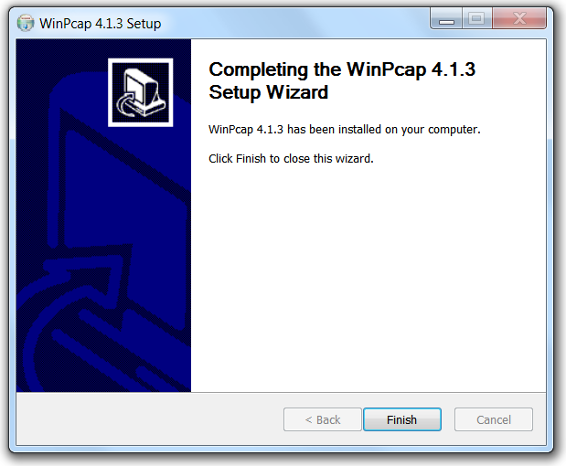 Complete WinPcap Setup Wizard
 - Once the WinPcap tool has been installed, the Nuclias Connect setup wizard will continue with the installation.
A Windows Security Alert window may display a warning that certain features are blocked from installing, such as the Server-side JavaScript. If the pop-up window appears, select the network setting best suited to access the firewall and click Allow access (in the following image, Private networks, such as my home or work network was selected). Otherwise click Cancel to stop the installation process.
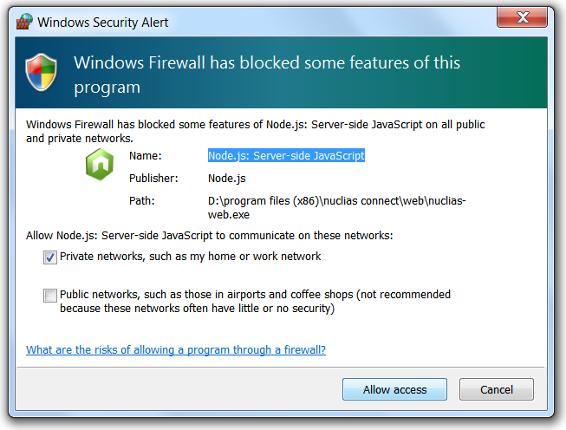 Windows Security Alert
 - The Completing the D-Link Nuclias Connect Setup window will be shown. Click the Finish button to complete and exit the installation wizard.
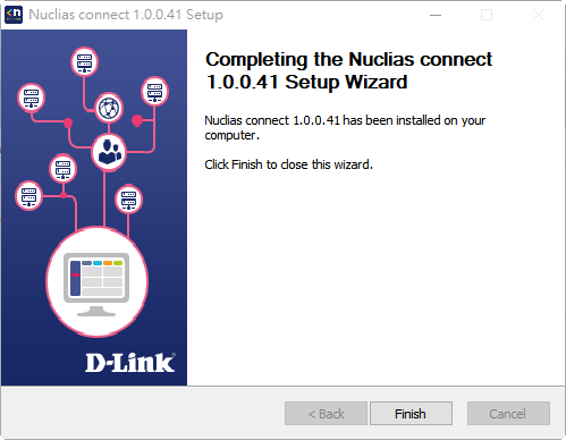 Complete Nuclias Connect Setup Wizard
 - After the installation, the Nuclias Connect Service Configurator, Nuclias Connect, and Uninstall shortcuts appear in the programs list as follows.
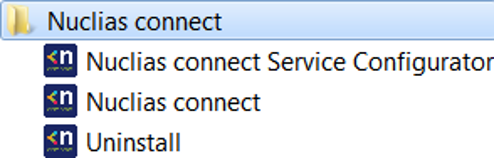
Nuclias Connect Windows Program List
Run the Nuclias Connect Server
This section describes how to run the Nuclias Connect Server application. After the installation is complete, the following applications will appear on the Programs listing.
| Note: The following instructions were written under the Windows 7 operating system, screenshots and wording may vary depending on your operating system. |
From the desktop, navigate to Start > All Programs > Nuclias Connect and click Nuclias Connect Service Configurator to open the Nuclias Connect setup. The Configuration window will display as follows.
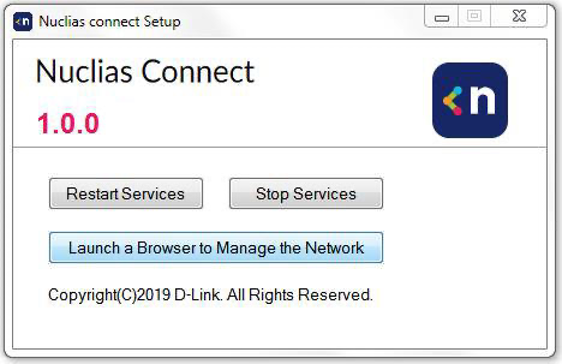 Nuclias Configuration Setup
The Menu contains the start/stop services and launch access buttons. Before you can manage Nuclias Connect, its services must first be enabled.
Use the Restart Services button to enable the Nuclias Connect server, or Stop Services to disable the server services. The Nuclias Connect configuration interface is accessible through a browser.
Click Launch a Browser to Manage the Network to open your system’s default browser.
Logging in for the first time
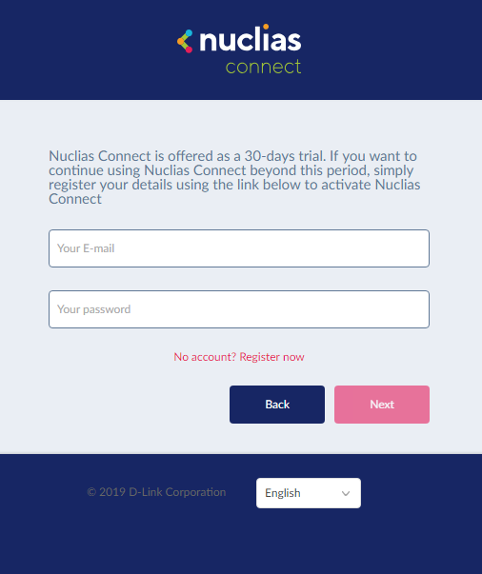
Nuclias Connect Online Registration
Nuclias Connect provides a 30-days free trial. After the trial has expired you may continue using Nuclias Connect by registering a Nuclias account at register.nuclias.com, or be redirected to it from the Settings window in Nuclias Connect. The Nuclias Connect account can also be used to login to D-Link's Nuclias Cloud Platform if you have Cloud-managed devices. If you do not have a registered account, click No Account? Register now to create valid set of credentials.
Login with Registered Credentials
Once the registration process has been initialized, a new browser window will be opened. You will see the server registration page. There are three steps in the registration process.
- Select the server region and country. The account will be created on the servers within the selected region and the selected country. Your account data will be stored in the regional server based on your selected region and country.
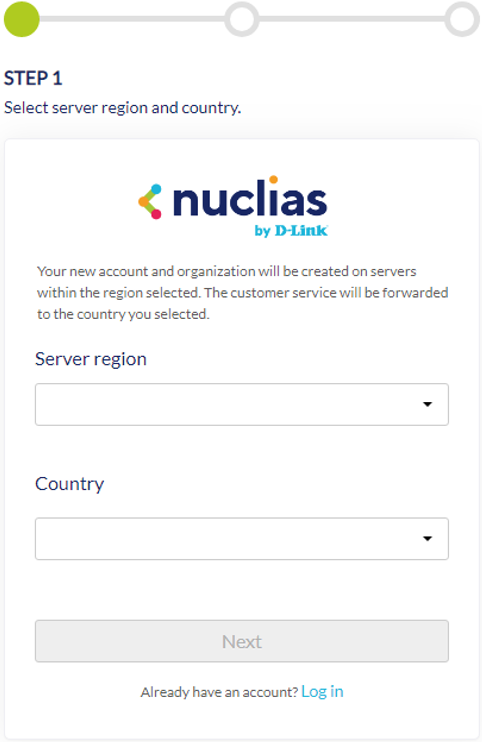
Registration Step 1Note: If you already have an account, you may use this account to login without creating a new account. - Once the region and country have been entered, you will see the user, organization and site page. Enter the required information and agree to the Terms of Use and Privacy agreement to enable the account creation button.
Click Create Account to continue.
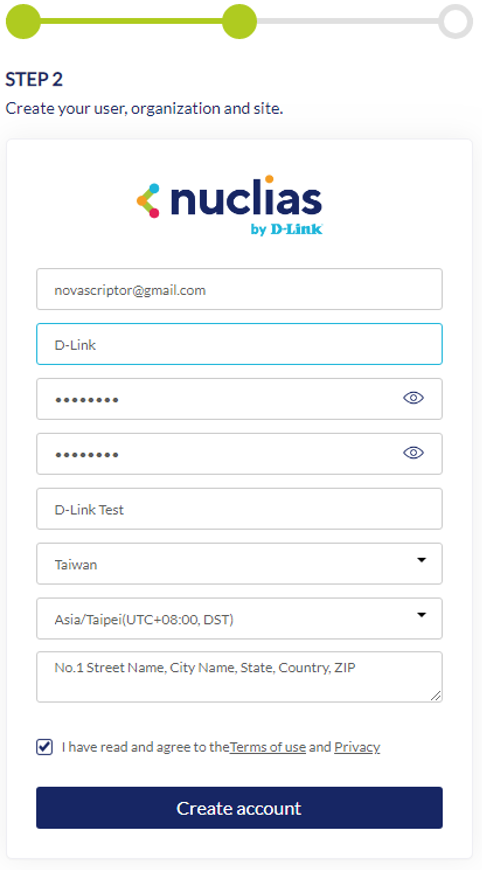
Registration Step 2 - If the registration was a success, you will see the Finish page. Click Close to complete the process. The registered account is now available for use. The verification information will be delivered to the registered
email of the account.
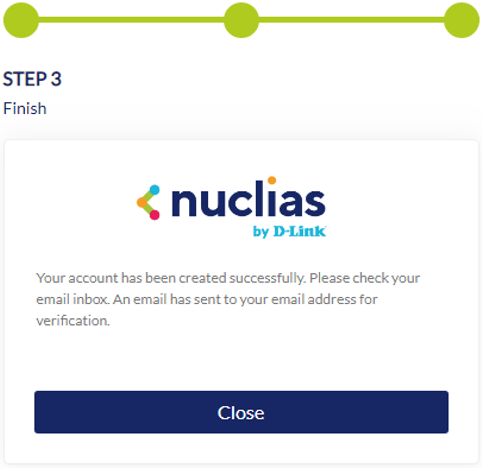
Registration Step 3
Your Nuclias account must be validated before use. You will receive an email from [email protected] with a verification link included. Please click on the verification link to activate your Nuclias account.
You will be redirected to the Login page. If you do not have any Nuclias Cloud-enabled devices you may skip this login step.
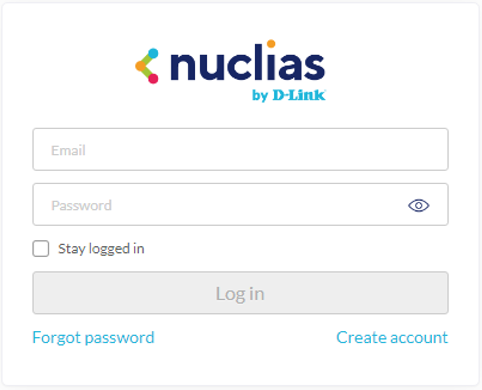
Nuclias Cloud Login
Launch Nuclias Connect
Nuclias Connect features multiple login options ranging from using the Nuclias Connect installed software on a local computer, to a browser on a remote computer (Microsoft Edge or Chrome is recommended).
- Open a browser and enter the IP address or Domain Name of the host computer running the Nuclias Connect server (for example, https://192.168.10.1:30001 or https://domain-name.com).
- For locally installed software, use the Nuclias Service Configurator or the Nuclias Connect shortcuts to open the interface in a browser.
- From the desktop , navigate to Start > All Programs > Nuclias Connect and click Nuclias Connect Service Configurator to open the Nuclias connect Setup window.
From the Nuclias Connect window, click Launch a Browser to Manage the Network. The default browser will show the Nuclias Connect interface.

Nuclias Connect Setup - Alternatively, the interface is accessible from the desktop. Navigate to Start > All Programs > Nuclias Connect and click Nuclias Connect to open the default Web browser.

Software Nuclias Connect Login
- From the desktop , navigate to Start > All Programs > Nuclias Connect and click Nuclias Connect Service Configurator to open the Nuclias connect Setup window.
Enter the modified username and password in the respective fields.
Enter the Captcha code as shown on the screen.
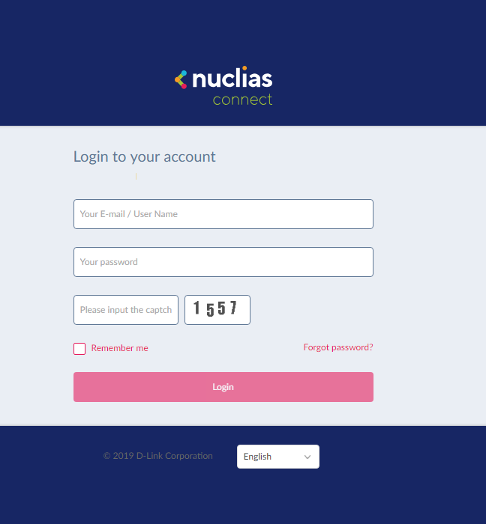
Nuclias Connect Login
|
Note:
Language and Password Options |
After the web browser opens and connects successfully to the server, a change-password dialog will be shown. Changing the default password is required after the first login.
When assigning a password, it is recommended to use a strong password. The new password is required to be 5 - 16 characters in length. By combining uppercase and lowercase characters, numbers and symbols a strong password can be created.
| Note: Do not use common words or names. |
Enter the previous password in the Old Password field.
In the New Password field enter the new password.
Enter the same password in the Confirm Password field to verify the entry.
Click Modify to complete the process.
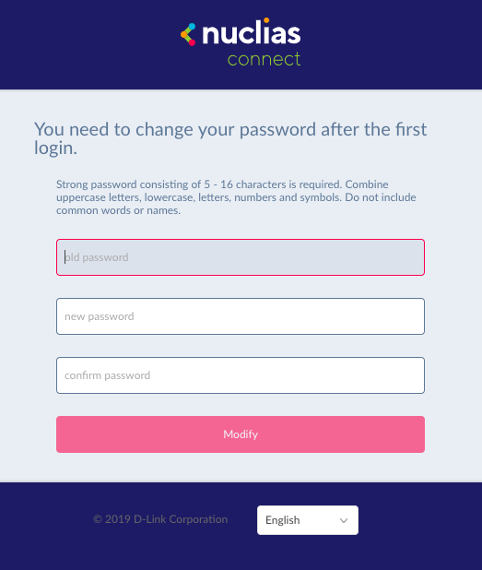
Change Password Screen
Upon logging in, you will see the System Settings page. In the event that the device access address or port have been changed, the Nuclias Connect Core server must be restarted. Complete the following settings page before continuing.