Switch Ports
From the Switch Ports section, you can configure individual ports or groups of ports for physical switches. Any settings configured in this window are applied to the physical switch directly and override any overlapping or conflicting settings in the Profile applied to the switch.
Local switch configurations may be useful in cases where one switch in a group of switches requires specialized settings that are not configured in the associated Profile to accommodate a specific application.
Customizing the Switch Ports Configuration Overview
- Navigate to Configure > Switch > Switch Ports.
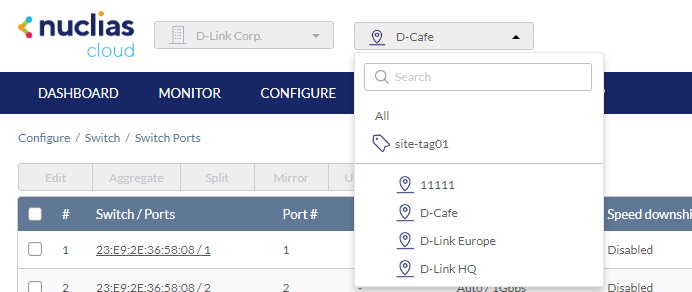
- Select the desired site from the site drop-down menu.
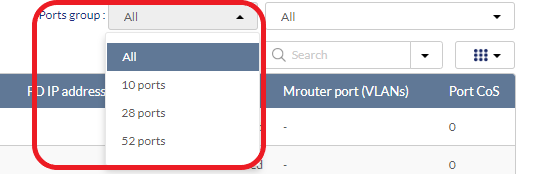
- Select a port group from the port groups drop-down menu. This will only display ports for the select port group profile. For example, selecting port group 28 will only show ports 1 to 28 of 28- port switches added to the organization. Select All to show all port groups.
- From the port list, check the box next to the ports you wish to edit.
- Click Edit.
- Specify the following information:
Note: At the top of the edit port window is a list of all selected ports. The changes made will apply to all selected ports.
Configuring Local Port Settings for One or More Switch Ports
Switch port configuration allows administrators to configure extensive port functionality including port availability, port speed, RSTP, VLAN, PoE, and port schedules for an individual port or for a group of ports.
Note: These local settings will override any conflicting Profile settings associated with the device.
- Navigate to Configure > Switch > Switch Ports.
- From the port list, check the box next to the ports you wish to edit.
- Click Edit.
- Specify the following information:
Note: At the top of the edit port window is a list of all selected ports. The changes made will apply to all selected ports.
|
Port name |
Enter a name for the port. If multiple ports are selected, this name will be applied to all ports. |
|
Port state |
Choose to enable or disable the port. |
|
Choose to enable or disable RSTP. Note: RSTP cannot be used in conjunction with LBD. Note: User must enable Profile/Settings/STP Configuration for this port to enable RSTP |
|
|
STP guard |
If RSTP is enabled, choose the guard type. Disabled: Do not use root guard enhancement. Root guard: Root guard enhancement allows administrators to define the position of the root bridge port in the network. |
|
Choose to enable or disable LBD. Note: LBD cannot be used in conjunction with RSTP. |
|
| Port CoS | Assign a Class of Service value for the port (0-7). |
|
Type |
Choose the function type of the port. Trunk: Sends and receives tagged data from different VLANs. Access: Only sends and receives untagged data from the VLAN the port belongs to. |
|
Native VLAN |
Enter the ID of the native VLAN the port belongs to if the Trunk type is selected. |
|
Allowed VLANs |
Enter the IDs of the VLANs that can route traffic through this port if the Trunk type is selected. Enter All to allow all traffic from all VLANs to pass through this port. |
| Access VLAN |
Enter the ID of the VLAN the port belongs to if the Access type is selected. |
|
Access Policy |
Select the Access Policy for this port if the Access type is selected. The options include Disabled, MAC Whitelist, Port Security Delete-on-Time Mode, and Port Security Permanent Mode. |
|
Static Whitelisted MACs |
Enter the MAC addresses that can access this port to restrict access to this port to devices with specific MAC addresses. If entering multiple MAC addresses, enter only one address per line. |
| Dynamic Whitelist Size Limit |
Enter the maximum number of allowed MAC addresses that the device should learn dynamically for the Port Security Delete-on-time Mode or Port Security Permanent Mode. |
| Dynamic Whitelisted MACs |
Display the learned MAC addresses for the Port Security Delete-on-time mode and Port Security Permanent Mode. |
|
Tags |
Enter a descriptive tag for the port. Multiple tags can be entered. If multiple ports are selected, any tags will be applied to all ports. |
|
Link (RJ45) |
Choose the maximum link speed of the port. Select Auto to allow the port to auto-negotiate port speed with the partner port or device. |
|
Link (SFP) |
Choose the maximum link speed of the port. Select Auto to allow the port to auto-negotiate port speed with the partner port or device. |
| Speed downshift |
Enables/disables automatic speed downshift on the supported interface when the designated maximum speed cannot be established. |
|
Choose to enable or disable Power over Ethernet (PoE) functionality on this port. Note: The PoE setting will only apply to ports that support Power over Ethernet. |
|
| PD Alive | Enable or disable the automatic detection of the Powered Devices status. |
| PD IP address | Enter the IP address of the Powered Device. |
|
Port Schedule |
Choose a port schedule. Port schedules are separately configured. Refer to the Schedule Policies section. |
| Traffic segmentation | Enable or disable traffic segmentation on this port to further restrict traffic flow in your network. If enabled, select the forward ports. |
| Forward Ports | Select the forward ports if traffic segmentation is enabled. |
| Flow control | Enable or disable the flow control on the port to regulate the data transfer rate between two devices. |
- Click Apply. The details link next to the Switch/Ports will direct you to the Port Information page. You can view detailed information such as packets sent/received and configuration status.
Aggregating Switch Ports
Port aggregation allows you to link multiple physical ports together as one logical link to increase port bandwidth and redundancy in the event of a single physical link failure. Ports can be aggregated using either LACP or static link.
Note: Aggregated ports must maintain the same settings, otherwise you will not be permitted to aggregate multiple ports in one group.
Note: Port aggregation is not supported if the port type is set to “Access”.
Note: These local settings will override any conflicting Profile settings associated with the device.
- Navigate to Configure > Switch > Switch Ports.
- From the port list, check the box next to the ports you wish to link together.
- Click Aggregate.
- In the Link Aggregation Setting window, select the aggregation type.
Note: Static link requires manual configuration of the ports in the aggregation group. Link Aggregation Control Protocol (LACP) dynamically queries to listening ports to join the aggregation group.
- Click Aggregate.
Note: Aggregated ports can be identified by the combined port number in the Port # and Aggregate column of the port list.

Splitting Aggregated Switch Ports
Linked port groups can be split into their respective individual ports. Splitting port groups will undo all aggregation settings applied to the affected ports.
Note: These local settings will override any conflicting Profile settings associated with the device.
- Navigate to Configure > Switch > Switch Ports.
- From the port list, check the box next to the aggregated port(s) you wish to split.
- Click Split.
Note: This will immediately split the selected aggregated ports.
Mirroring Port Traffic to Another Switch Port
Port Mirroring is a method of monitoring network traffic that forwards a copy of each incoming and/or outgoing packet from one port of the switch to another port, where the packet can be studied. This enables network managers to better monitor network performance.
Note: These local settings will override any conflicting Profile settings associated with the device.
- Navigate to Configure > Switch > Switch Ports.
- From the port list, check the box next to the port(s) you wish to mirror.
- Click Mirror.
- Specify the following information:
|
Source ports |
Select the data to mirror from the drop-down menu for each selected port. Both: Mirror both incoming and outgoing. Rx: Mirror only data received on the port. Tx: Mirror only data transmitted by the port. |
|
Destination port |
Enter the destination port number. |
- Click Create port mirror.
Undoing Port Traffic Mirroring
- Navigate to Configure > Switch > Switch Ports.
- From the port list, check the box next to the mirrored port(s) you wish to unmirror.
- Click Unmirror.
Note: This will immediately undo the selected mirrored ports. - Click Delete port mirror.
Adding a Tag to One or More Switch Ports
You can add descriptive tag to ports to identify and filter different ports or groups of ports. Tags are purely informational and do not affect the functionality of the port.
Note: These local settings will override any conflicting Profile settings associated with the device.
- Navigate to Configure > Switch > Switch Ports.
- From the port list, check the box next to the port(s) you wish to add a tag to.
- Click Tag.
- In the Add field, enter the tag content. Multiple tags can be entered.
Note: if this is a new tag, click Add option to make this a reusable tag.
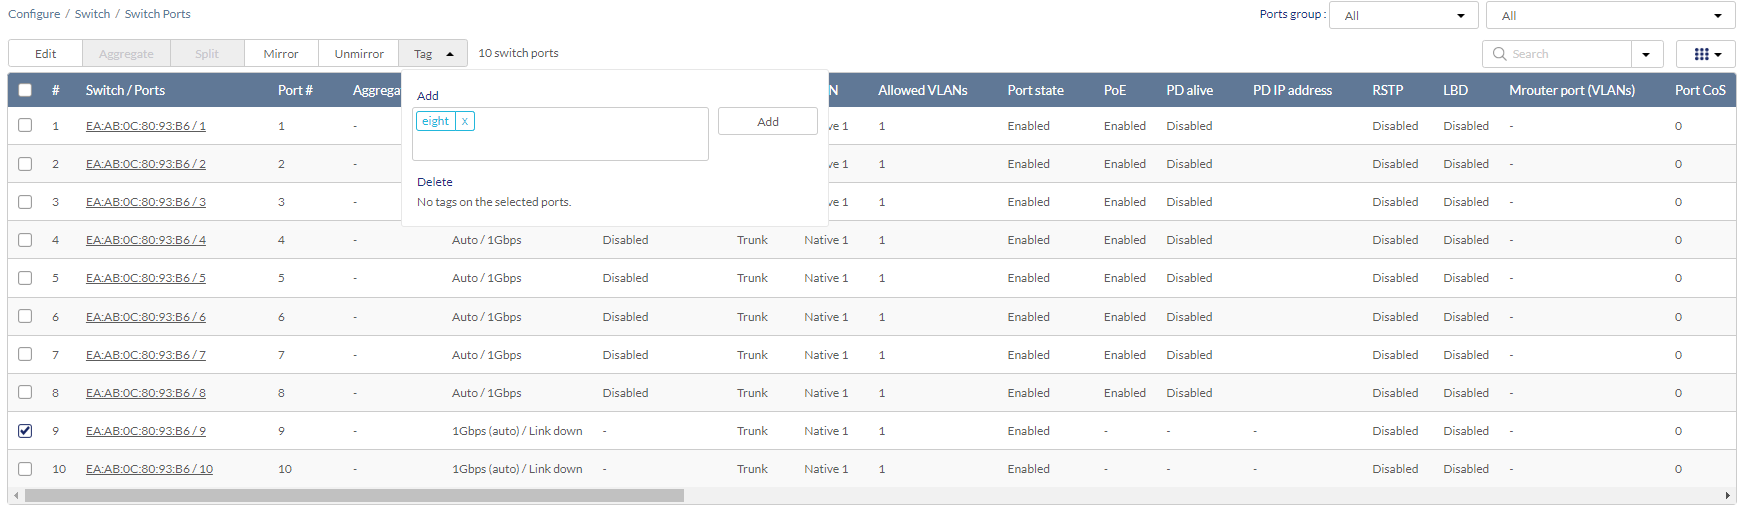
- Click Add.
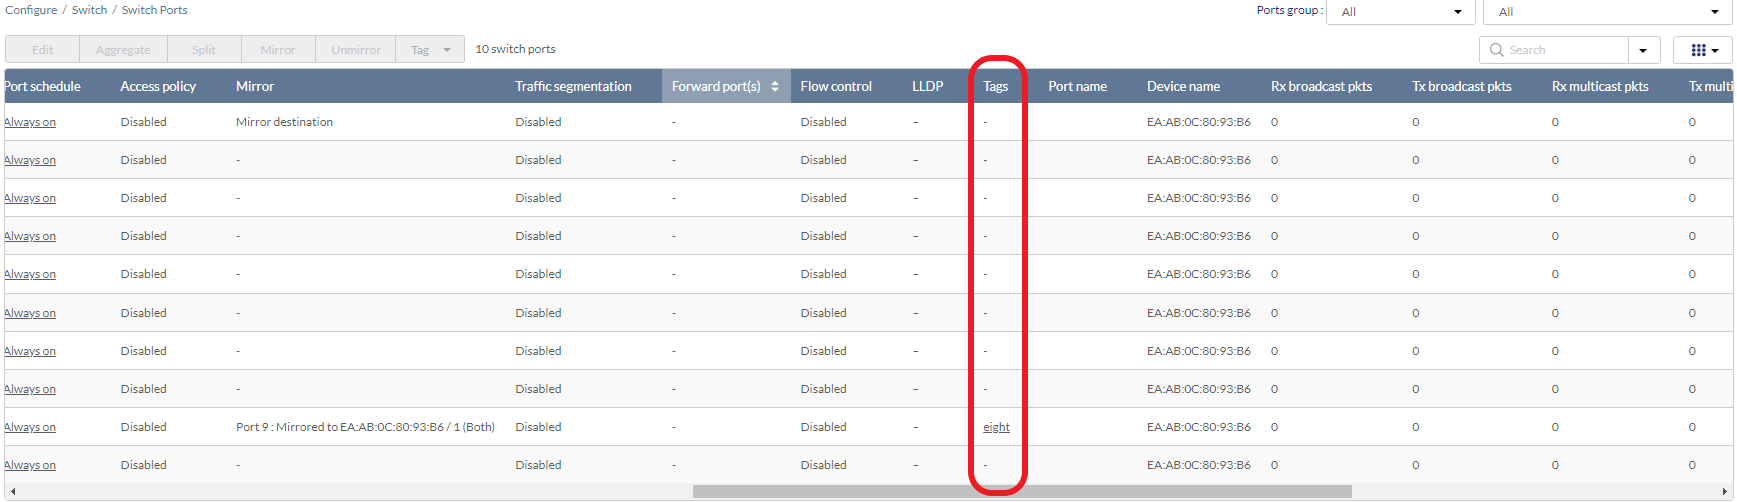
Note: Any tags associated to a port will be shown in the Tags column.
Removing a Tag from One or More Switch Ports
- Navigate to Configure > Switch > Switch Ports.
- From the port list, check the box next to the tagged port(s) you wish to remove the tag(s) from.
- Click Tag.
- In the Delete field, enter the tag name. Alternatively, click the input field to bring up a list with all the associated tags.
- Click Remove.