Inventory
The inventory can be seen as the virtual stock that you may first add multiple devices to, then assign to the selected Site and Profile or register with licenses later.
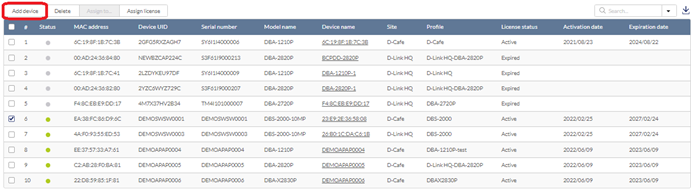
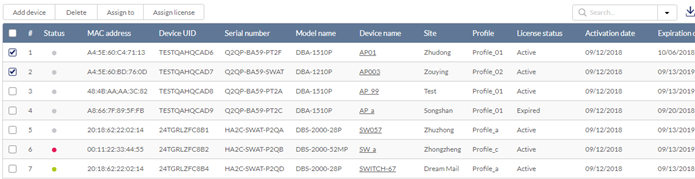
From the Inventory window, you can consult comprehensive information about all the devices currently assigned to designated access level, including status, hardware information, license status, and which Site and Profile the devices are assigned to.
Note: The displayed devices are based on the user's access level.
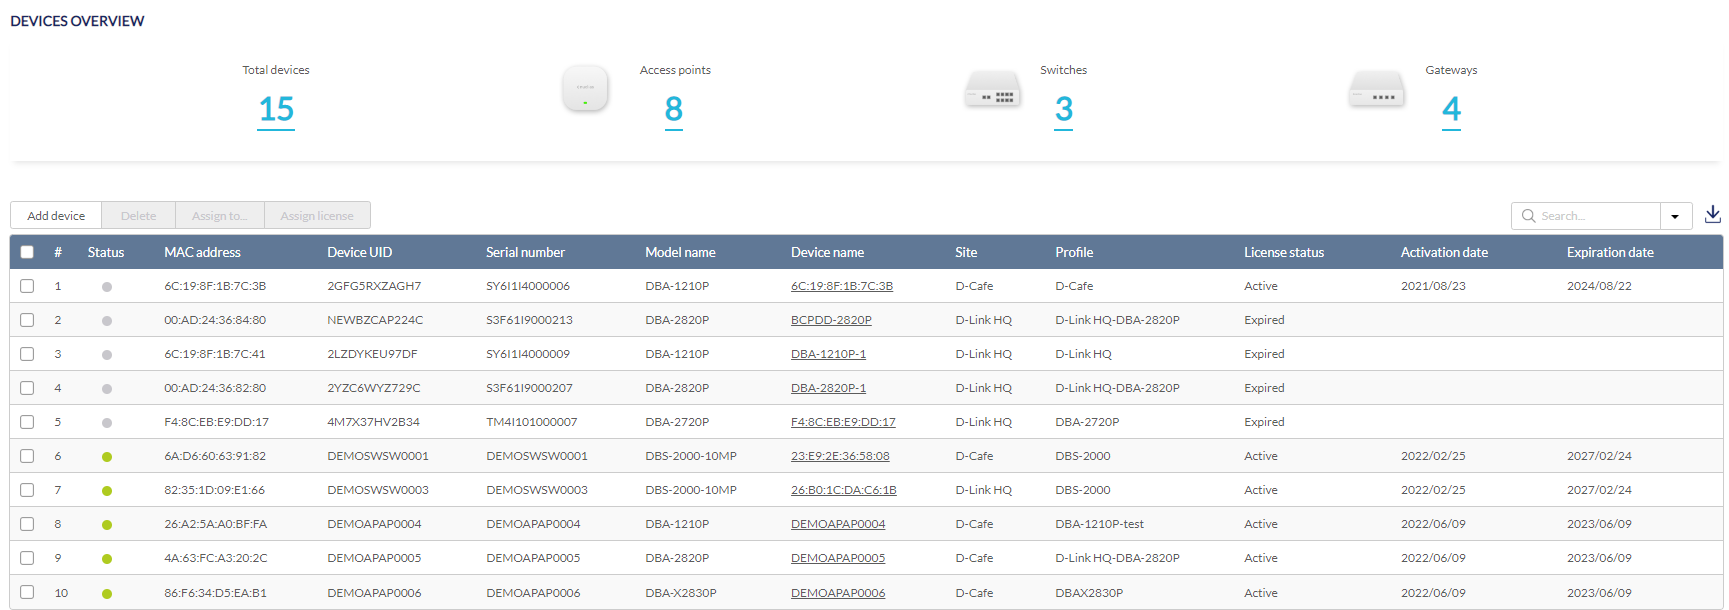
Device Overview
- Navigate to Settings > Inventory.
- Select the Devices tab.
- The Device Overview displays devices in the following categories:
|
Total Devices |
The total number of devices that are in the organization’s inventory. |
|
Access Points |
The number of access points. |
|
Switches |
The number of switches . |
|
Gateways |
The number of gateways. |
And the table displays the following information about the devices for each category:
|
Status |
The operation status of the device. |
|
Device Name |
The device name that the license has been registered to. |
| MAC Address | The MAC address of the device. |
| Device UID | The device's UID. |
| Serial Number | The device's serial number. |
| Model Name | The model name of the device. |
| Site | The site that the device has been assigned to. |
| Profile | The profile that has been assigned to the device. |
| Reg. Status | The registration status of the device. |
| License Status | The status of the device's license. It will display active as long as the device has one active license. For detailed license information, go to Settings > License Management. |
| Activation Date | The date that the license activates. For detailed license information, go to Settings > License Management. |
| Expiration Date | The date that the license expires (after adding up all the license terms). For detailed license information, go to Settings > License Management. |
Adding Devices to the Inventory
After adding a new device, assign a Site and Profile to a device to allow it to be used immediately.
- Navigate to Settings > Inventory.
- Click Add device.
- Specify the following information:
|
Device UID |
Enter the device’s Unique Identifier (UID) found on the label printed on the device. The UID may be listed in the format XXXX-XXXX-XXXX or XXXXXXXXXXXX. When entering the UID, do not include dashes. |
To bulk import new devices to the Inventory:
- Click Bulk import. You can download the reference sample template.
- Click Browse.
- Locate the CSV-formatted file containing the UIDs of the devices.
Note: To add devices to the inventory, use the following format: [UID]. - Click Save.
Assigning Devices to a Site
Registering a new device to the Inventory requires manually assigning it to a Site and Profile.
- Navigate to Settings > Inventory.
- Select devices and click Assign to.
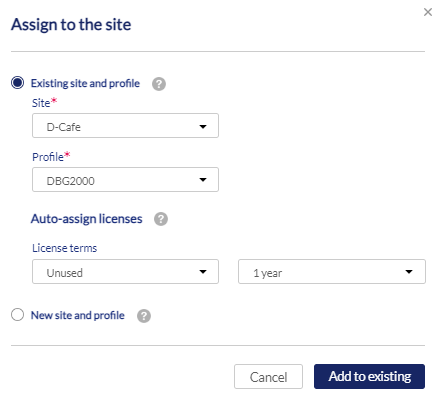
- Specify the following information:
|
Site |
Select a Site to link this device to. Or you can select New site and profile and enter the following information for a site: Site, Country, Time zone, and Address. Then click Create site and add. |
|
Profile |
Select a Profile for this device. The device will use the settings configured in that profile. |
|
Auto-assign License |
[Optional] Auto-assign license allows you select an available license by license term. Note: Every new device will be issued a one-year free license key. Once expired, an additional license must be purchased to continue using the device. |
- Click Add to Existing.
Assigning Licenses to a Device
Product Registration requires you to enter a valid license key to activate the service.
- Navigate to Settings > Inventory.
- Select the devices and click Assign license.
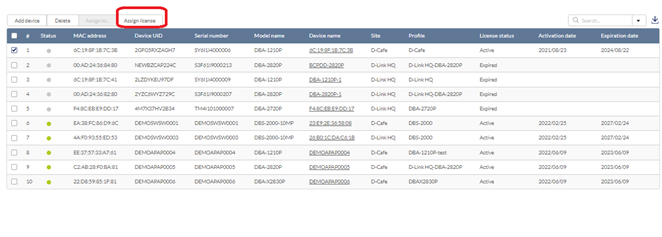
- According to the device's product category, specify the license terms to look for available licenses. Click Addto add more licenses with the desired terms.The system will display Insufficient Licenses if there are no available licenses for the selected term.
- Click Assign to let the system assign the license keys to devices automatically. The licenses will be listed under Used licenses with information such as start and expiration date.
Deleting Devices from the Inventory
Deleting a device from the inventory completely removes the device from the organization it was linked to, allowing it to be reassigned to a different organization.
- Navigate to Settings > Inventory.
- Click the tab of the Devices list to filter the devices by category.
- From the device list, click the checkbox next to the device(s) you wish to delete.
- Click Delete. You will be asked if you would like to delete this device permanently from Nuclias.

- When prompted to confirm, click Yes.
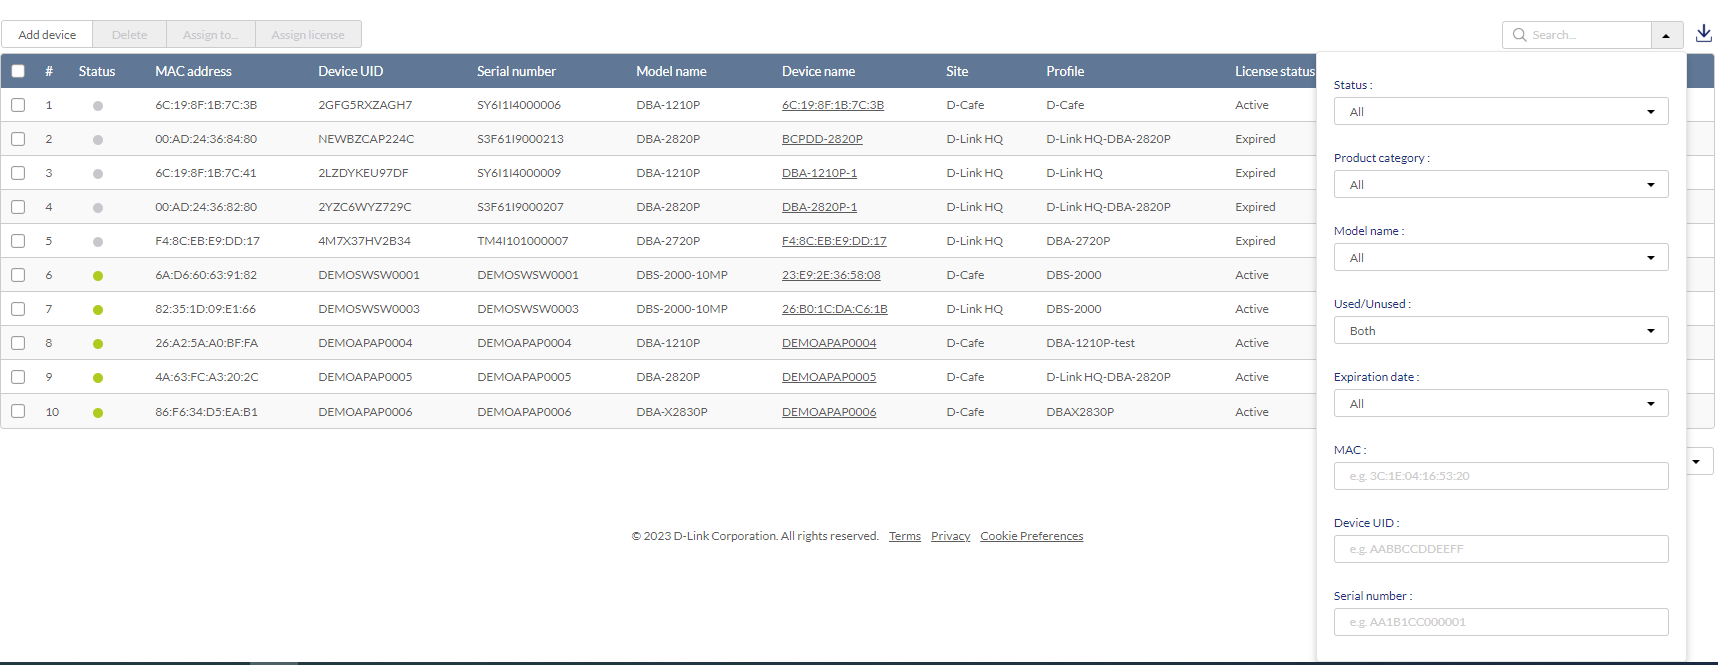
Searching for a Device
- Navigate to Settings > Inventory.
- Click the Devices tab.
- From the device list, click the Search field to bring up search criteria: Status, Product category, Model name, Used/Unused (for license status), Expiration date (for license information), MAC (manually enter the device's MAC address), Device UID, and Serial number.
Exporting the Inventory List
- Navigate to Settings > Inventory.
- Click the Devices tab .
- Refer to the above Searching for a Device section to refine the table listing with the Search function.
- From the device list, click the Download icon in the top-right.
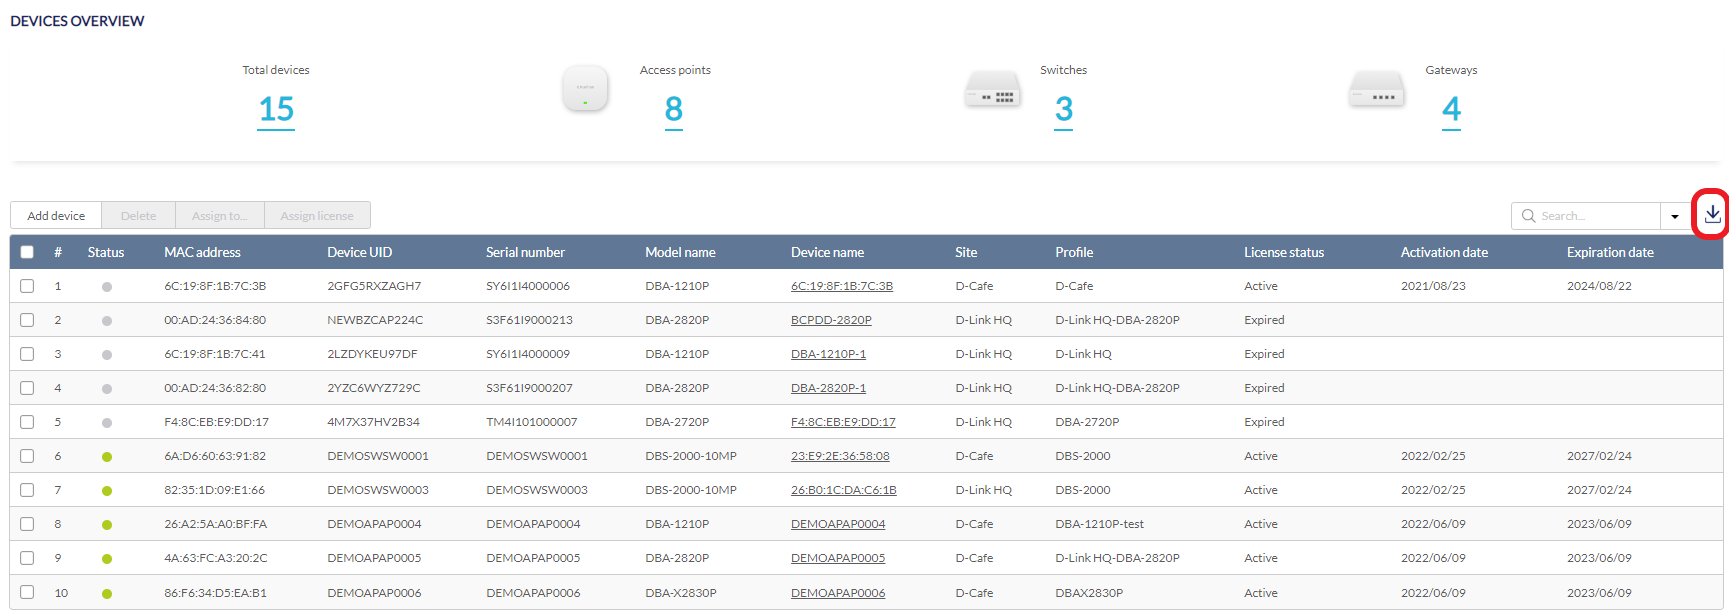
- The table listing will be exported as a single .CSV file in your browser's default download folder.