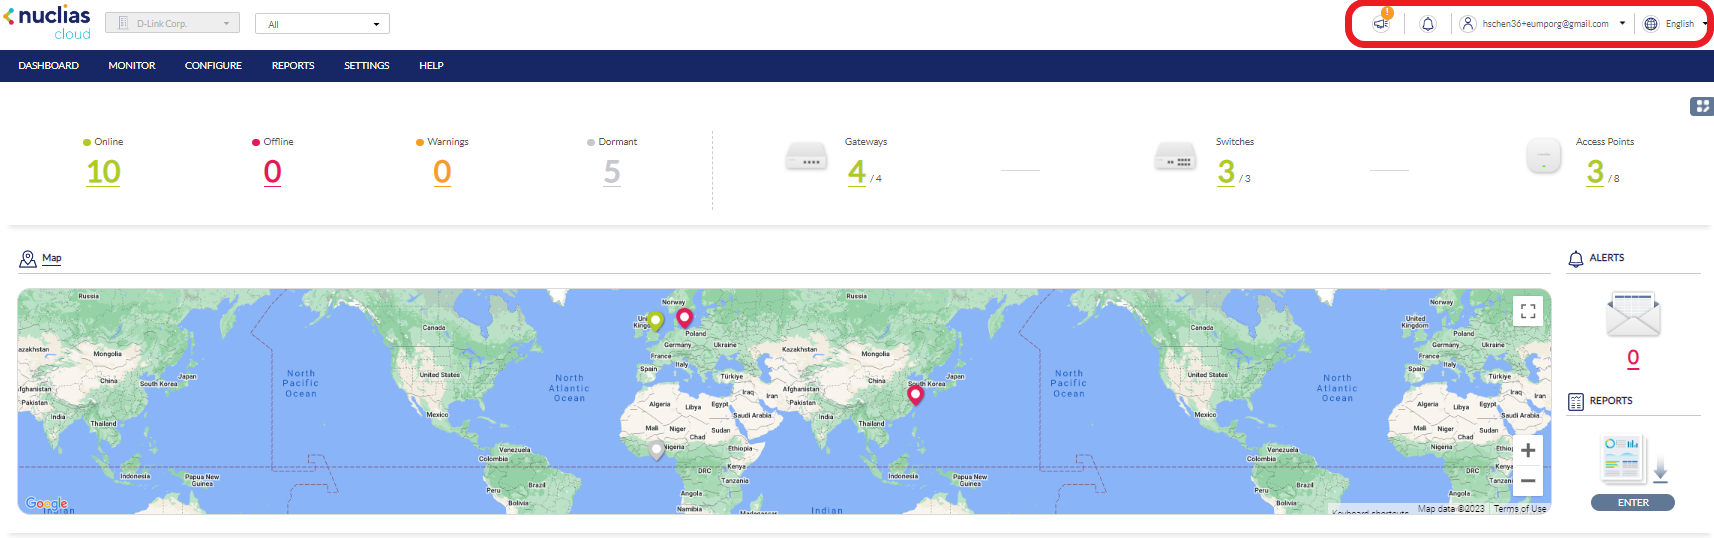
Global Toolbar
Site Menu
The Site menu is used to select a Site or Site Tag within the selected organization, and may only contain selected sites, depending on the privilege of the account that you have logged in with. Site Tags and Sites are an easy way of grouping devices within an organization and allow for multiple devices to be configured more easily. For most configuration options, it is necessary to select a Site to manage. Site Tags are marked by a tag icon, while Sites are marked by a single pin icon.

Selecting a Site
By selecting a specific Site, you can view network activity and client information associated with the devices of the Site and the Map for the selected Site. Certain management features such as alerts and reports are also handled on the Site-level.
- From the Global Toolbar, click the Site menu.
- [Optional] Click a Site Tag to only show Sites associated with that Site Tag or click All to show all Sites.
- Click the Site name.
Note: Only information for that Site will be shown in the dashboard and management sections.
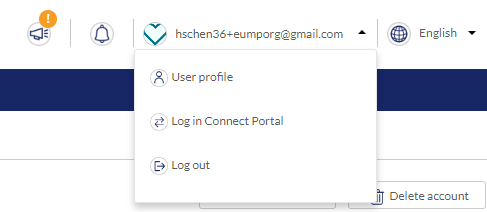
Account Menu
The account menu contains the User Profile and Logout options and can be reached by clicking the user name you have logged in with.
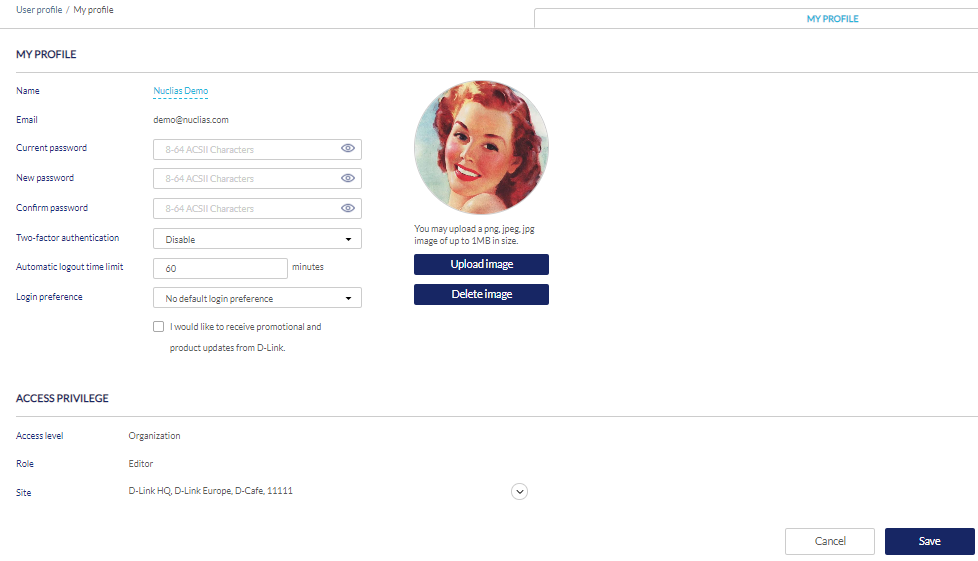
Editing a User Profile
The User Profile page is used to view the current user’s profile and access privilege information. It can also be used to change the current user’s password and profile image.
- From the Global Toolbar, click the Account menu.
- Select User Profile.
- Edit the user profile using one of the following actions:
- Change user name
- Click the username in the Name field.
- Enter a new name and press Enter or click outside of the field.
- Change password
- Enter your current password in the Current Password field.
- Enter a new password in the New Password field.
- Enter the new password again in the Confirm Password field.
- Edit profile image
- Click Upload image to add a profile image.
- In the Upload Image window click Browse and navigate to the image you want to use.
- Click Upload.
To delete a profile image, click Delete image.
- Email user information
Click the Email this page button to send your user information to your registered email address.
- Two-factor authentication
Select to disable or use an additional authentication method from the drop down menu. If you select Google Authenticator, add your Nuclias account to your Google Authenticator by scanning the QR code below.
- Automatic logout time limit
Enter the time in minutes that this user will be logged out when inactive.
- Login preference
Select none or use either Cloud Portal or Connect Portal as the default login portal.
- Change user name
- Click Save.
Sending A User Profile Snapshot by Email
- From the Global Toolbar, click the Account menu.
- Select User Profile.
- Click Email this page.
Note: This will immediately send a snapshot of the user profile page to the email address registered to this user account.
Deleting a User Account
- From the Global Toolbar, click the Account menu.
- Select User Profile.
- Click Delete Account.

- Enter your account password and click Save.
Note: Deleting an account will remove all data associated with this user. This is permanent and cannot be undone.
Language Menu
Changing the Portal Language
The language menu allows you to change the display language of the Portal interface.

- From the dashboard, click the display language in the top-right.
- Select a language from the drop-down menu.
Note: Selecting another language will immediately change the portal display language into the selected language.