Walled Garden
Walled gardens are an internet browsing environment that either restricts from or redirects clients to certain web addresses. These gardens restrict connectivity to a particular section of a network and prevent access to other websites.

Adding a Walled Garden
- Navigate to Configure > Walled Garden.
- Click Add Walled Garden in the top left.
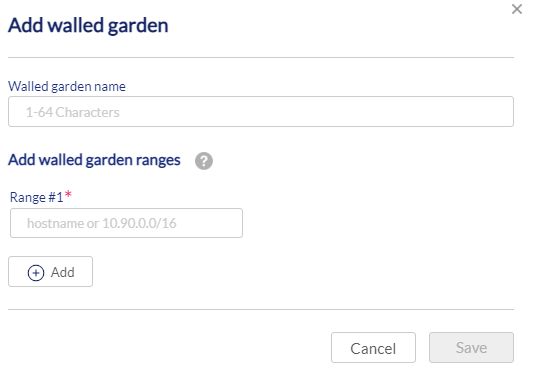
- In the Add Walled Garden window, enter the information below:
|
Walled Garden Name |
Enter a name for your walled garden (1-64 characters). |
|
Walled Garden Ranges |
Either enter a hostname or a valid IP address or subnet for the range of the walled garden. |
-
[Optional] To add multiple ranges for your walled garden, click Add.
-
Click Save.
Editing an Existing Walled Garden
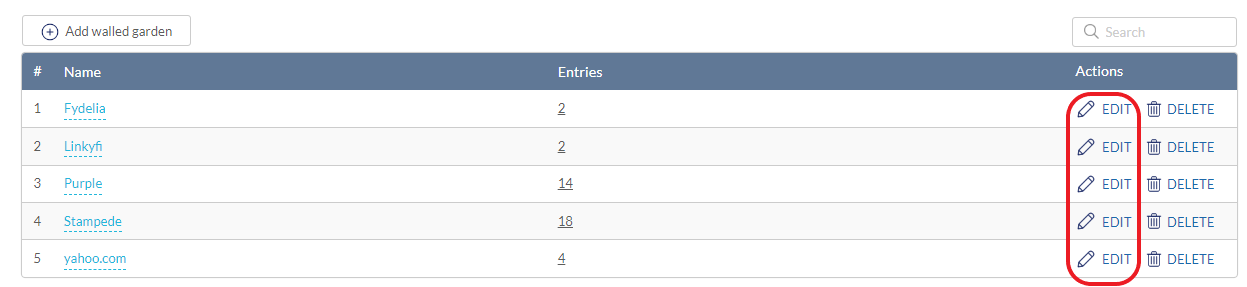
- Navigate to Configure > Walled Garden.
- From the Walled Garden list, click Edit under the Actions column of the Walled Garden you wish to edit.
- From there, delete existing addresses or add addresses to the list of permitted websites.
- [Optional] Delete multiple entries by clicking the boxes on the left-hand side and then click Delete.
- In the update window, enter the walled garden range (e.g. 192.168.10.100/32 or 10.90.0.0/16, google.com, dlink.com) for a new entry or edit the existing one.
- Click Save.
Deleting a Walled Garden
- Navigate to Configure > Walled Garden.
- From the Walled Garden list, click Delete under the Actions column of the Walled Garden you wish to delete.
- When prompted to confirm, click Yes.